
Menu
Blog
Blog
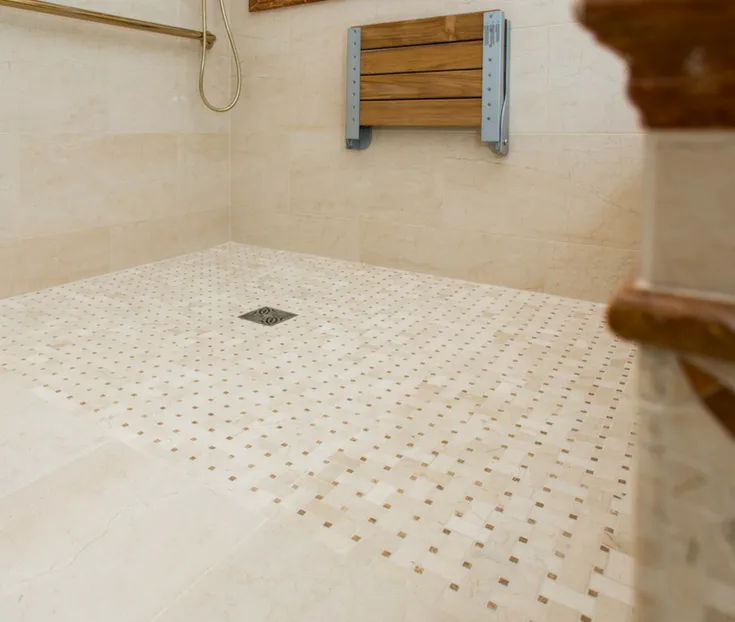
How To Check a Shower Pan for Leaks
Shower pans are an overlooked necessity in your home. Functional shower pans prevent leaks and water damage. Damaged shower pans may require you to contact Central Florida Property Claims to handle your insurance company.
Why Check a Shower Pan for Leaks?
Shower pans, assuming correct installation, should have minimal problems. However, a leaking shower pan can damage your subflooring, promote mold growth, and harm the structural integrity of your home.
The three primary reasons shower pans leak are wearing over time, movement, and poor drainage. Unfortunately, it can be difficult to detect these problems because they develop gradually. Conducting a shower pan leak test is your best option.
Step 1: Gather Materials
Before calling an Orlando public adjuster to help you get repairs done, it's best to test. This process starts with gathering materials. For this project, you will need a way to mark the water level and a way to plug the shower drain.
If you do not have a shower curb or lip, you will also need a waterproof bumper and method to attach it without damaging your shower. Some people like to use spray foam, while others use a waterproof board and sealant combination.
Step 2: Plug the Drain
Depending on your drain layout, this step can be complicated. Some folks claim that duct tape is the perfect solution. Others suggest an inflatable or wingnut plug that attaches to the drain just above your subfloor.
If your home sustained damage, such as from a hurricane or sinkhole, the drain could experience damage. Using a specialized plug can give you more information and help an Orlando public adjuster make a more compelling case.
Step 3: Fill with Water
Generally, you want to add the water using a bucket rather than turning on the fixture. This choice lets you better control the volume of water so you do not accidentally flood your bathroom. You want to come to just under the lip.
Once the shower pan is full, mark where the water level is. You cannot rely on your memory, so you may even want to mark a few locations. If you're working with an experienced Orlando public adjuster, they can help you get this test as exact as possible.
Step 4: Hold the Water for at Least 8 Hours
While it may be tempting to pull the plug on a shower pan leak test after an hour or two, you need to wait at least 8 hours. This time helps you notice any more minor leaks that may need repair. Central Florida Property Claims recommends doing this overnight.
Step 5: Drain and Make Repairs
Draining the shower pan could take a little time, especially if you used a well-secured plug. However, once the pan drains, you can inspect it for small areas of damage. Remember, the sooner it's caught, the less likely you'll need an Orlando public adjuster.
Options for DIY repair include masonry sealer and regrouting. You may even want to replace the shower liner, but that does require some expertise and time. The other possibility is calling Central Florida Property Claims to start the insurance process.
Step 6: Call a Plumber
If you feel uncomfortable or uncertain, Central Florida Property Claims recommends calling a plumber. A plumber has experience working with drains and piping. They should be able to run a shower pan leak test and make the necessary repairs. This process should be covered by your insurance company following a claim too.
What customers say About Us


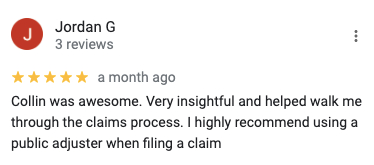
What Customers say About Us


Get A FREE Inspection Today


Get A FREE Inspection Today

©2023 by Central Florida Property Claims. Andre Kratt Lic. #W636283
©2023 by Central Florida Property Claims.
Andre Kratt Lic. #W636283
